Peipers' Charge Game 2 of 3
Following on from our first game, we now have concluded the second game in the Peipers' charge scenario found in July's Wargames Illustrated.
The Game
This game went on for a long time and so many turns. This being the case I will not do a usual turn by turn account.The table was set up as per the scenario and the Americans deployed. Right on top of the German entry point was a choke point. A single bridge was defended by a US blocking detachment who not only placed barbwire on the far side of the bridge but also mined the road over the bridge. A trench line sat off to one flank an this set up cost the Germans valuable time.
 |
| ME262's attempt to prevent engineers from blowing up a bridge. |
 |
| German infantry attempt to clear the way. |
The German infantry had been depleted trying to force the way through the blocking detachment causing heavy casualties. mean while whilst the infantry were being slaughtered the Fallshirmjager platoon cleared the mines from the bridge and the first panzer platoon started crossing headed by Peiper him self. With the loss of 1 infantry platoon and another down to half strength along with the remnant's of a Panzer IV platoon, it was left down to the Panzer's who had to go in and hit the trench line hard.
 |
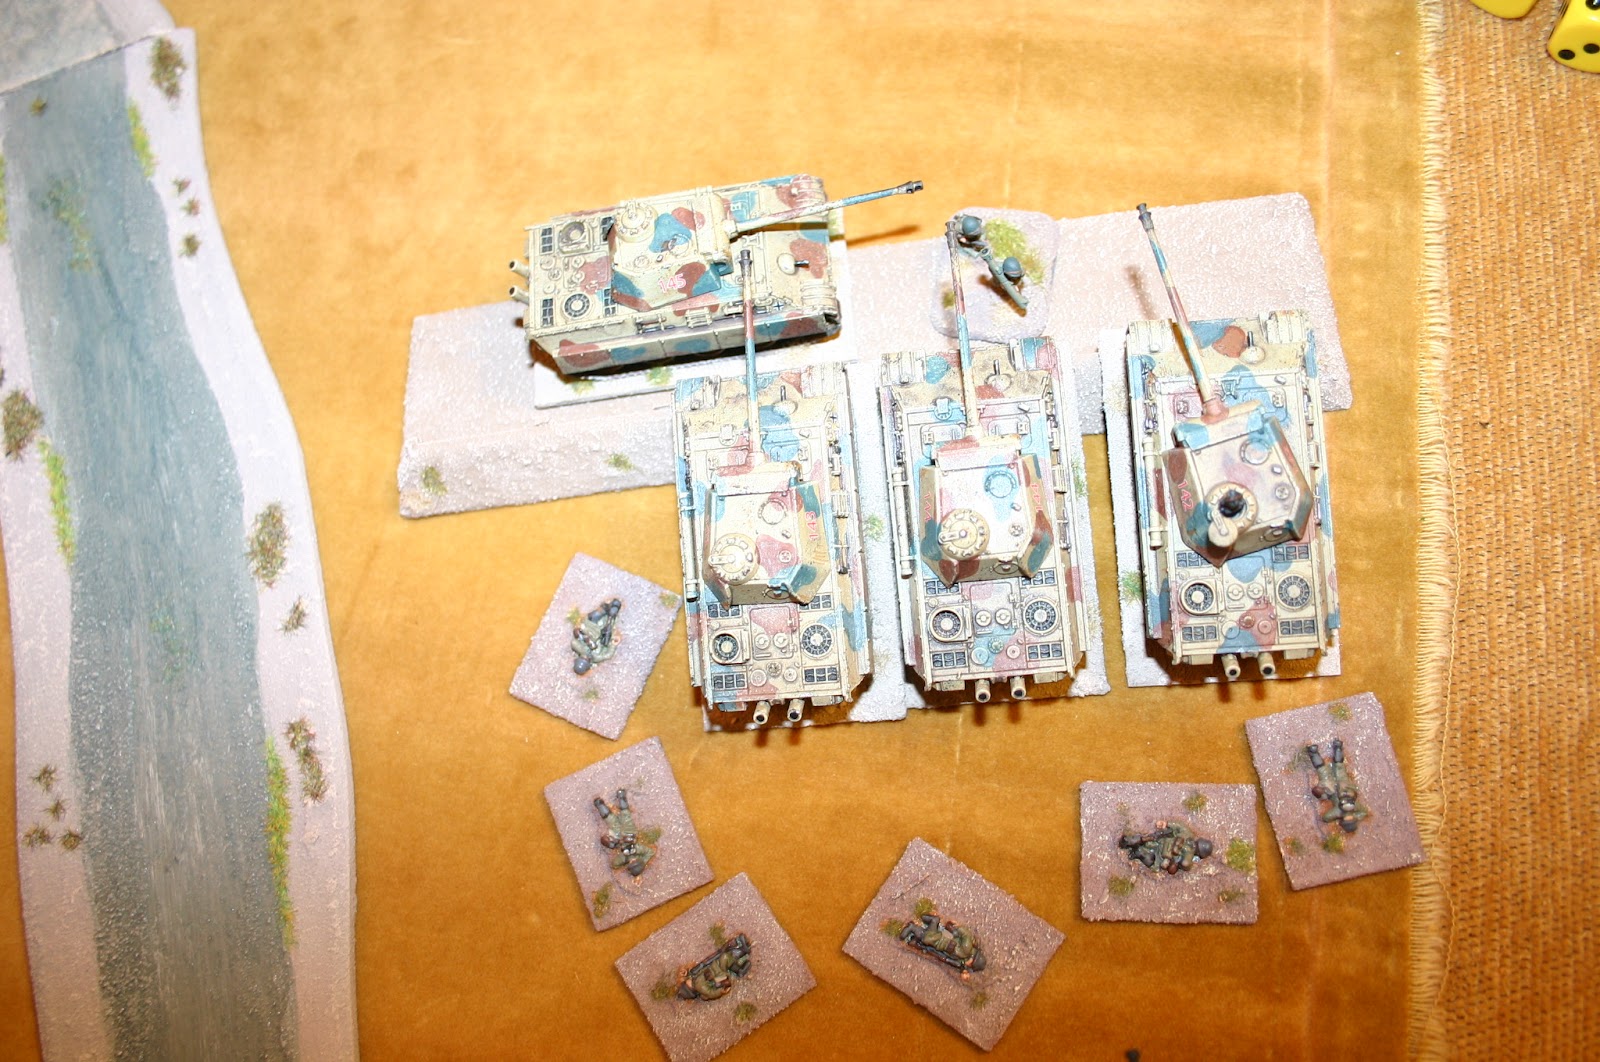
| German Panzers cue up to use the bridge whilst trying to dislodge the stubborn US detachment. |
Slowly the rest of the column arrived and the Siggs started to pound the buildings. Shot after shot hit the buildings but the US infantry proved to stubborn and would not yield.
 |
| US engineers blow the first bridge. |
 |
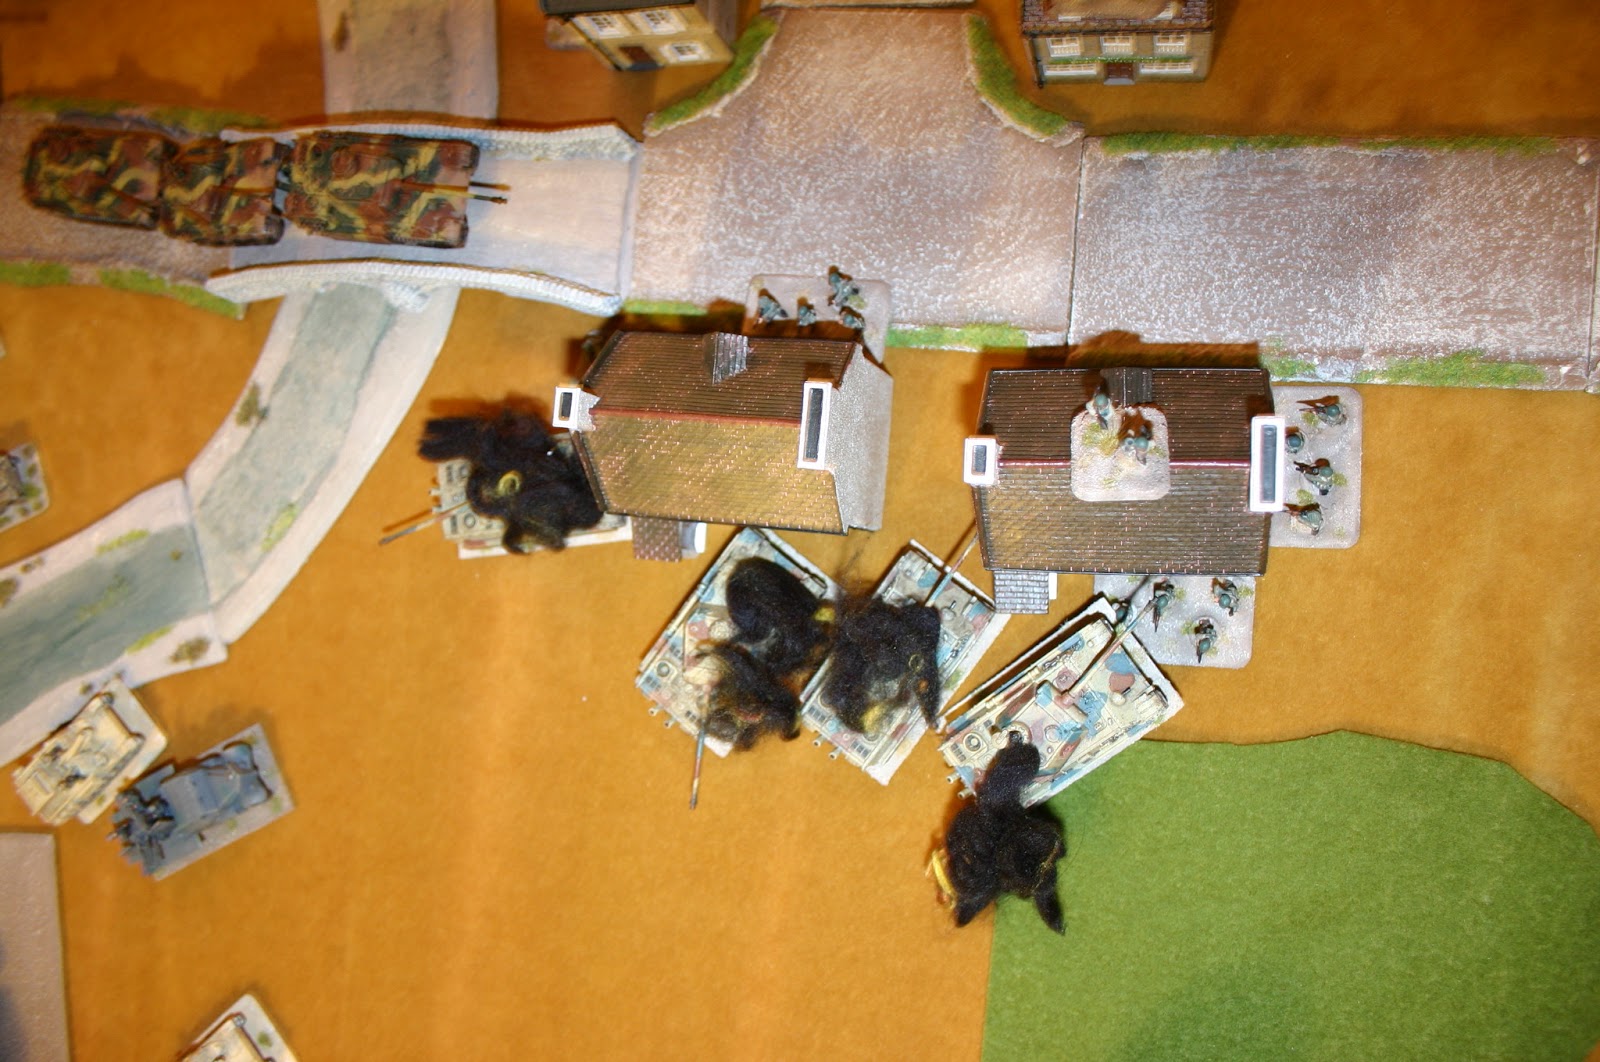
| A Panther platoon grinds the defending US detachment asunder. |
The Luftwaffe's super fighters had better luck and a solitary ME262 managed to locate the towed AT battery in a wood and strafed the platoon killing 3 guns, with the final gun crew running away in fear that they would be next.
The assault on the town defended by the Armoured Infantry was not going to plan. Shot after shot failed to find its target and those that did the Infantry just shrugged off. After a few turns the Germans committed a Panther platoon. This did not go well and the defensive fire from the Bazooka's left 4 burning Panthers. After a couple more turns of fire eventually a building was cleared of infantry that had been blocking the bridge and the Panzer's rolled into town. The last Panzer IV platoon crossed the bridge and assaulted one of the houses forcing the infantry inside to retire. With two tank platoons in the town pounding the buildings at point blank and fire from the Sigg's finally became too much for the US infantry who surrendered.
 |
| ME262's attack the towed TD platoon killing 3 teams. |
 |
| Ooops...That tank assault did not go well. |
 |
| Panzer's start to pour into the town. |
With the Germans missing the turn dead line this meant that the US now started game 3 with their reserves on table from turn 1.
Post Game
Geez that was tough, The roadblock so close to the table edge caused me a major headache, I either had to go through the minefield or through the infantry defending it. It is amazing how tough a 4 team unit can be. They saw off 2 Infantry platoons and the remnant's of a Panzer IV platoon before I decide to commit the Panthers. Maybe I should have done that turn 1 but I hoped to be able to clear the infantry without exposing my tanks.Unable to bring the maximum of 3 units a turn that I was allowed cost me time, and time is not what I had. The Me262's saved the day taking out the towed Tank destroyer platoon who had deployed as a result of me killing the security teams.
With the bridges being blown, it forced me to take the only route left open, straight into a town full of Infantry armed to the teeth with bazooka's....
I was hoping the 150mm Sigg's would do the job but no, the damn infantry shrugged off hit after hit. It is amazing how strong infantry can be against armour when they are in buildings. I was unable to move into the town without assaulting the two buildings nearest the bridge as the infantry inside used their invisible force field to prevent me from passing them.
I was a bit rash sending in the Panther's but they were the nearest unit and I had to force the issue, all I can say about that is next time I see Americans in buildings with Bazooka's I'm going home.
The panzer Iv's with their Shurtzan were the way forward as they had the spacial save which would allow them to tackle the bazooka threat and they did in style, surviving several hits during the assaults.
Peipers' charge in the magazine is played over 3 tables, side by side. Unfortunately we do not have the space for that so opted to play the single games instead and unfortunately the writers did not think too well about how the Americans would deploy and how it would affect single table games.
The Blocking detachment deployment area was 12" square right on the table edge and my opponent took advantage of this but left me just room enough to fit a Panzer IV on table, he could have if wanted to have placed the minefield on the table edge and I would have been in real trouble.
If we had been playing over 3 tables there would have been room to flank this obstruction and bring the columns weight of fore to bear as it was the Germans suffered.
The Me262's as said, saved a protracted fight to the death with the relocated 76mm guns. These had a commanding view of the battlefield from a wood towards the town I was struggling to clear. If these had been lobbing long range shots at me, I would have lost quite a lot more.
Lastly the USAAF and their impact on the game. The only impact the Thunderbolts had when they turned up was in them hitting the ground after being repeatedly shot down by the Whirblewinds.
So how the authors of the scenario managed to loose anything to them is beyond me, These stayed at the heart of my army and provided an affective umbrella against the air attacks.
The end, well all most....
Total German Casualties
1 full Infantry platoon.3 infantry teams from the 2nd infantry platoon.
5 Infantry teams from the Fallshirmjager platoon.
4 Panther's.
4 Panzer IV's.
No comments:
Post a Comment